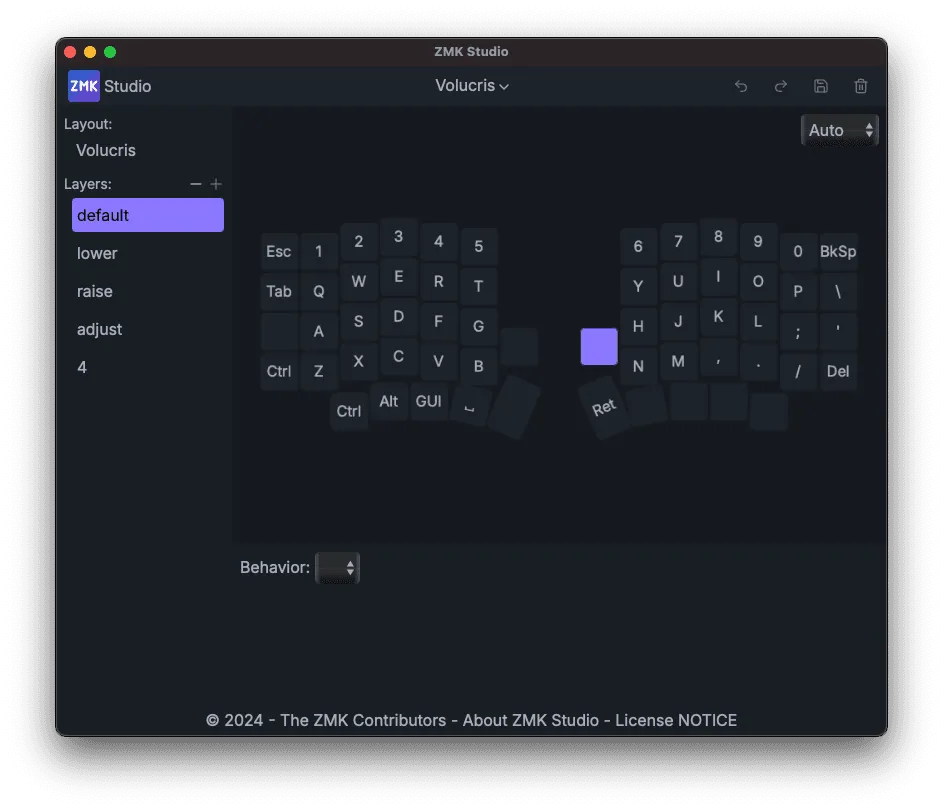
Adding ZMK Studio support
/ 3 min read
Table of contents
TLDR
In config/<keyboard_name>.conf:
CONFIG_ZMK_STUDIO=yIn build.yaml:
---include: - board: <some board> shield: <some shield> snippet: studio-rpc-usb-uart cmake-args: -DCONFIG_ZMK_STUDIO=yThen drop a &studio_unlock key somewhere in config/<keyboard_name>.keymap.
&bt BT_CLR  &bt BT_SEL 0  &bt BT_SEL 1  &bt BT_SEL 2  &bt BT_SEL 3  &bt BT_SEL 4                      &trans  &trans  &trans  &trans
&trans &trans&trans &studio_unlockWhy bother
Mechanical keyboards are becoming less and less of a niche thing, and more and more people enjoy a good clack, whether it drives their coworkers up the wall or not. So digging through a pile of configs just to swap Space and Shift on the thumb cluster one more time isn’t exactly most people’s idea of a good time.
Here’s the usual drill:
-
Open the <keyboard_name>.keymap file
-
Tweak the keys you want
-
Commit
-
Push
-
Wait for CI to finish1
-
Download the firmware archive
-
Unpack it
-
Put the board into bootloader mode — after plugging it into your computer, of course
-
Drop the firmware onto it
-
…
-
PROFIT
And that’s the happy path. What if you made a typo? What if you mixed things up and mapped the wrong key? Honestly, even a nerd like me sometimes just wants to click around in a GUI.
So if you’ve decided to make your life easier, this guide is for you.
How
This guide is lifted entirely from the docs.
On a new branch2, add this to config/<keyboard_name>.conf:
CONFIG_ZMK_STUDIO=yAnd this to build.yaml:
---include: - board: <some board> shield: <some shield> snippet: studio-rpc-usb-uart cmake-args: -DCONFIG_ZMK_STUDIO=yNext, for security reasons, we need to pick a key (or a combo) that triggers the so-called “ZMK Studio Unlock Behavior”:
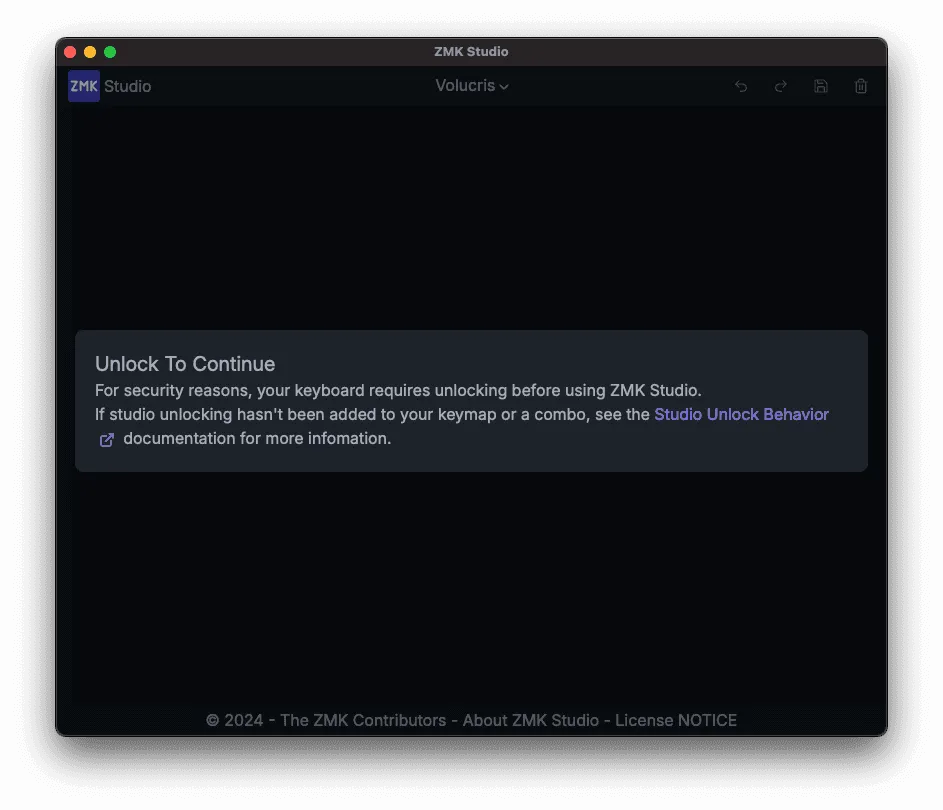
I put mine on my bottom layer, the one with Bluetooth switching, volume and brightness controls.
You’ll need to press that key whenever ZMK Studio asks for it, like in the screenshot above.
That’s it — from here you just wait for the firmware to rebuild and flash the keyboard, same as always.
After that you can head over to the ZMK Studio site itself, or download and install the app on your computer.
So what’s the catch?
At the time of writing, ZMK Studio is missing quite a few things:
-
You can’t change encoder configuration — that still has to be done the old-fashioned way, in the keymap
-
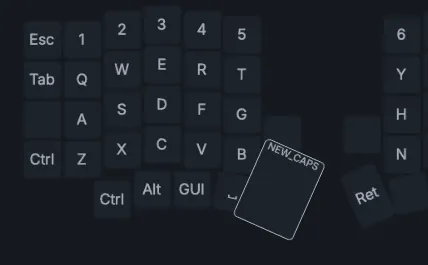
Plenty of keys show up blank even though they do have a behavior bound to them. For example, I have a custom key that toggles Caps Lock on a double tap and acts as Shift on a single tap. ZMK Studio has no idea how to render that, so it just shows NEW_CAPS on hover and nothing at all in the preview. Mouse emulation keys and plenty of others share the same fate.
-
You can’t add new layers — that goes through a keymap update too
-
You can’t add new behaviors
-
And a whole lot more
Don’t let that stop you, though! Most of the tedious, fiddly busywork is already gone.
Wrapping up
I really like that projects like ZMK keep getting more and more support from the community, and that they keep getting easier and nicer to use!
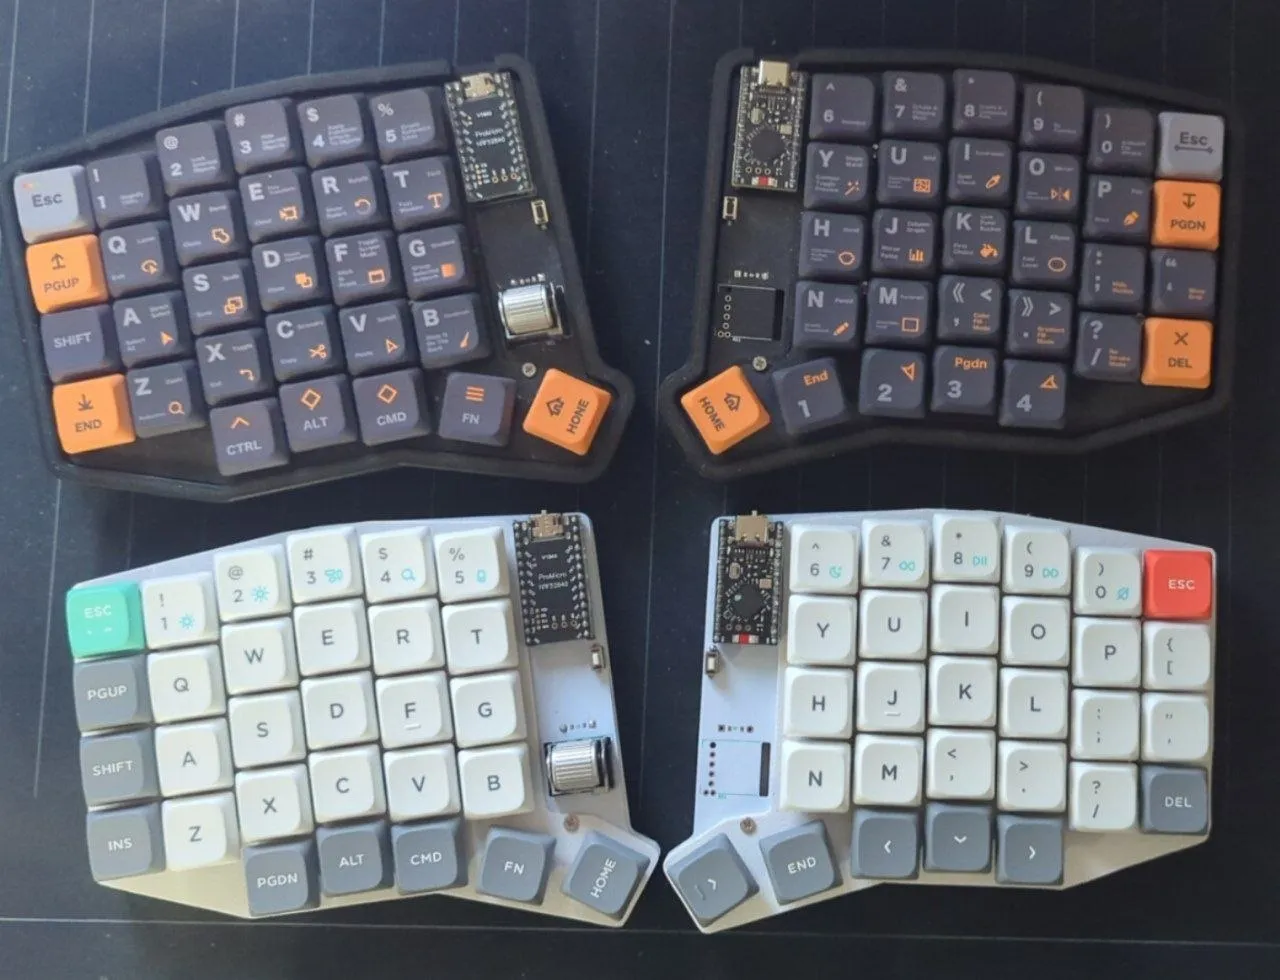
I might have happily gone on configuring my board purely through files, but for the first time someone other than me is going to be using it (or so I hope, at least), and it’s really great that everything can just be set up through a GUI!
Take care of yourself and your loved ones!
Footnotes
-
For a long time I looked at this and just didn’t get it — surely you’re supposed to suffer, to install a pile of dependencies that’ll be out of date by the time you next need to rebuild the firmware… But over time I came to absolutely love ZMK’s approach, because you only have to go through the pain of setting up your keyboard once, and after that all the dependencies become GitHub Actions’ problem. Sheer genius! ↩
-
We’re professionals here, right? If you can’t be bothered, just do it on the branch you’re already on. Who am I to tell you how to live your life? ↩